Omnium Portable Trainer – The Benefits of Low Inertia Bike Trainers
Inertia – What is it?
You might already be familiar with the physics concept of Newton’s 1st Law: objects in motion will stay in motion u...

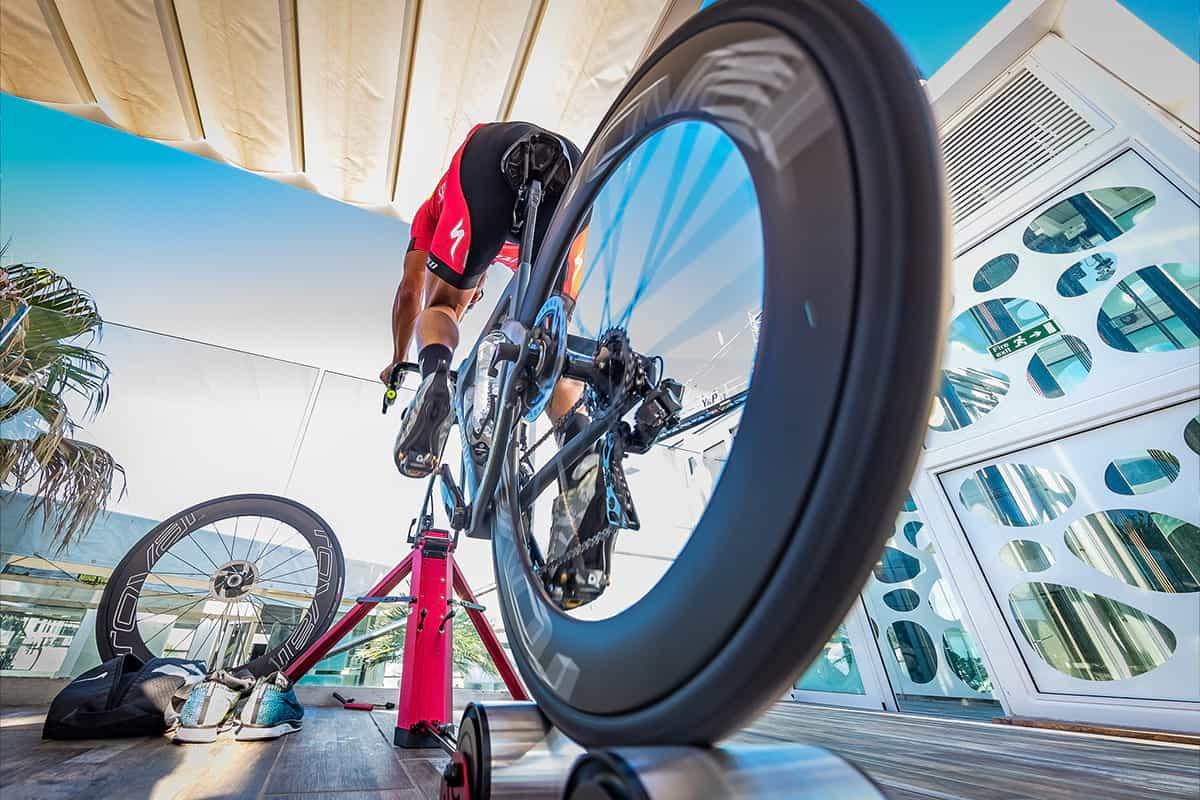
There are many things we need to do to keep our bikes running smoothly, efficiently, and safely. A bicycle safety check is quite possibly one of the simplest and most important bike maintenance tasks that you can do on a regular basis. Not only does it keep your bike safe to ride, preventing unwanted movement in bicycle components like the handlebars or seatpost, but it also prevents creaks and offers an opportunity to inspect your bicycle. Plus, you don’t need many bike tools to get the job done right!

As you can probably guess from taking one look at your bike, there’s a lot of bolts and you need to keep track of them. Experienced mechanics develop a systematic approach – working from the front of the bike to the back, or starting from the back and working your way forward.
No matter which way you find works for you, do it the same way every time so that it becomes automatic. For this example we will work from front to back. I find this method the easiest for my memory considering the more complicated components of the bike (derailleurs, rear brake, chain, cassette, etc.) all reside near the back of the bike.
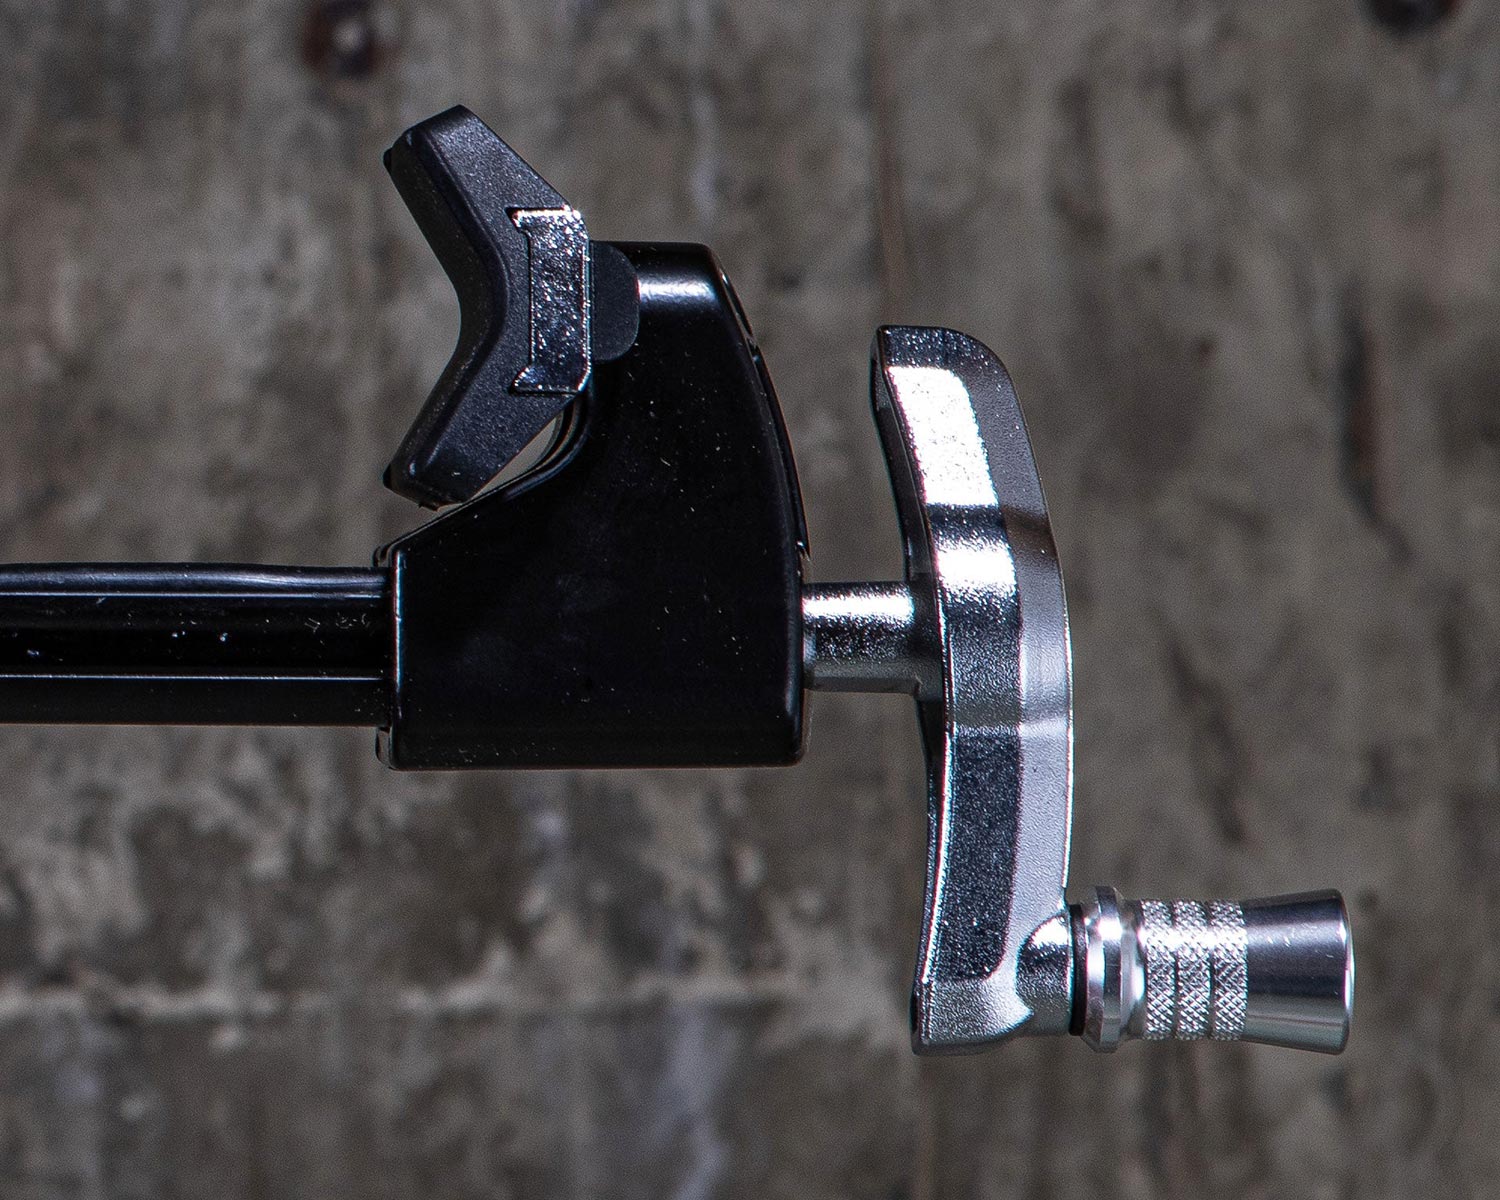
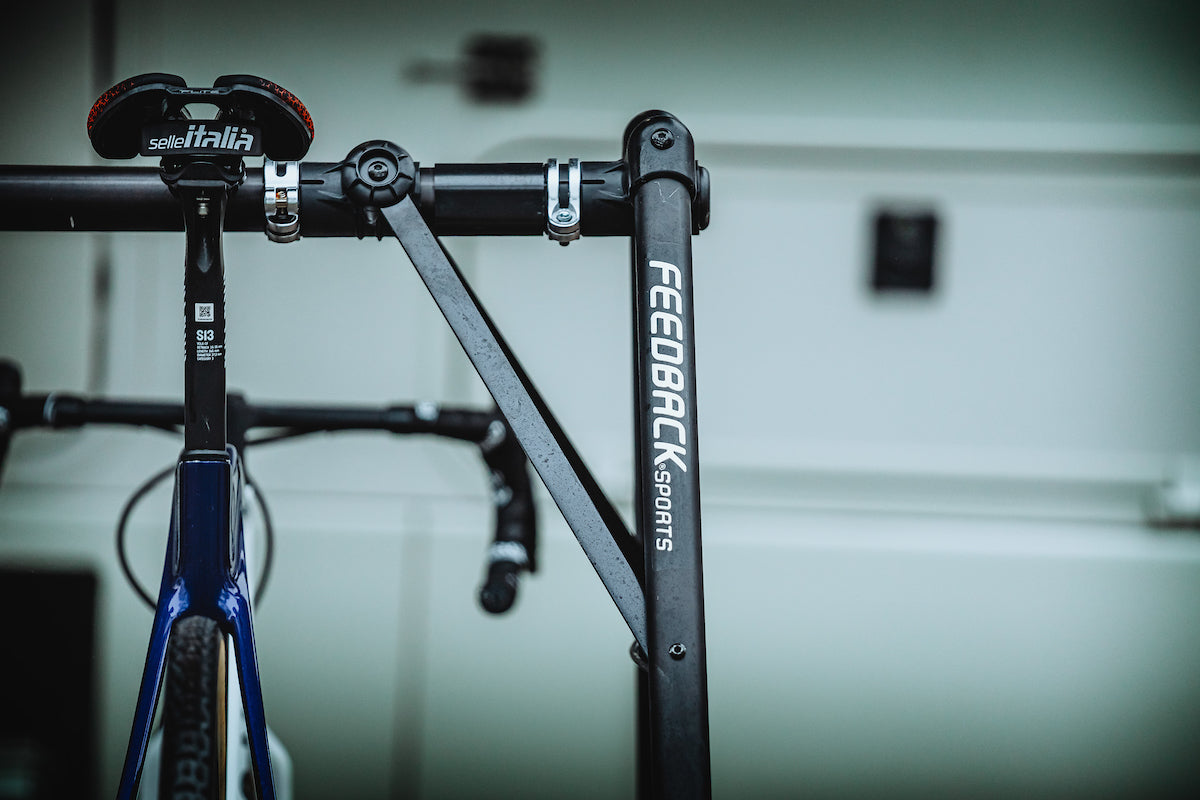
Starting at the handlebars, use your torque wrench to check the face plate stem bolts. Be sure to use the torque listed on the stem or bars. If both are marked with different torque values use the lower of the two. If neither is marked, 5Nm is typically the most common torque value for these bolts. Be sure to check each bolt twice. After you tighten one the torque value of the bolt next to it may drop because of the face plate snugging up. I also check the bolts that hold my hoods, grips, brake levers, dropper post lever, derailleur shifter, and any other controls on the handlebars.

Move to the stem bolts that attach to your fork steerer. Typically these are on both sides of the stem – check them twice. This is also a good time to check for play in your headset. We’ll offer tips on this in the future, but in the meantime, here’s an awesome headset adjustment video from the folks at Cane Creek Cycling Components that describes the process well. Global Cycling Network also has a nice video if you prefer an English accent!
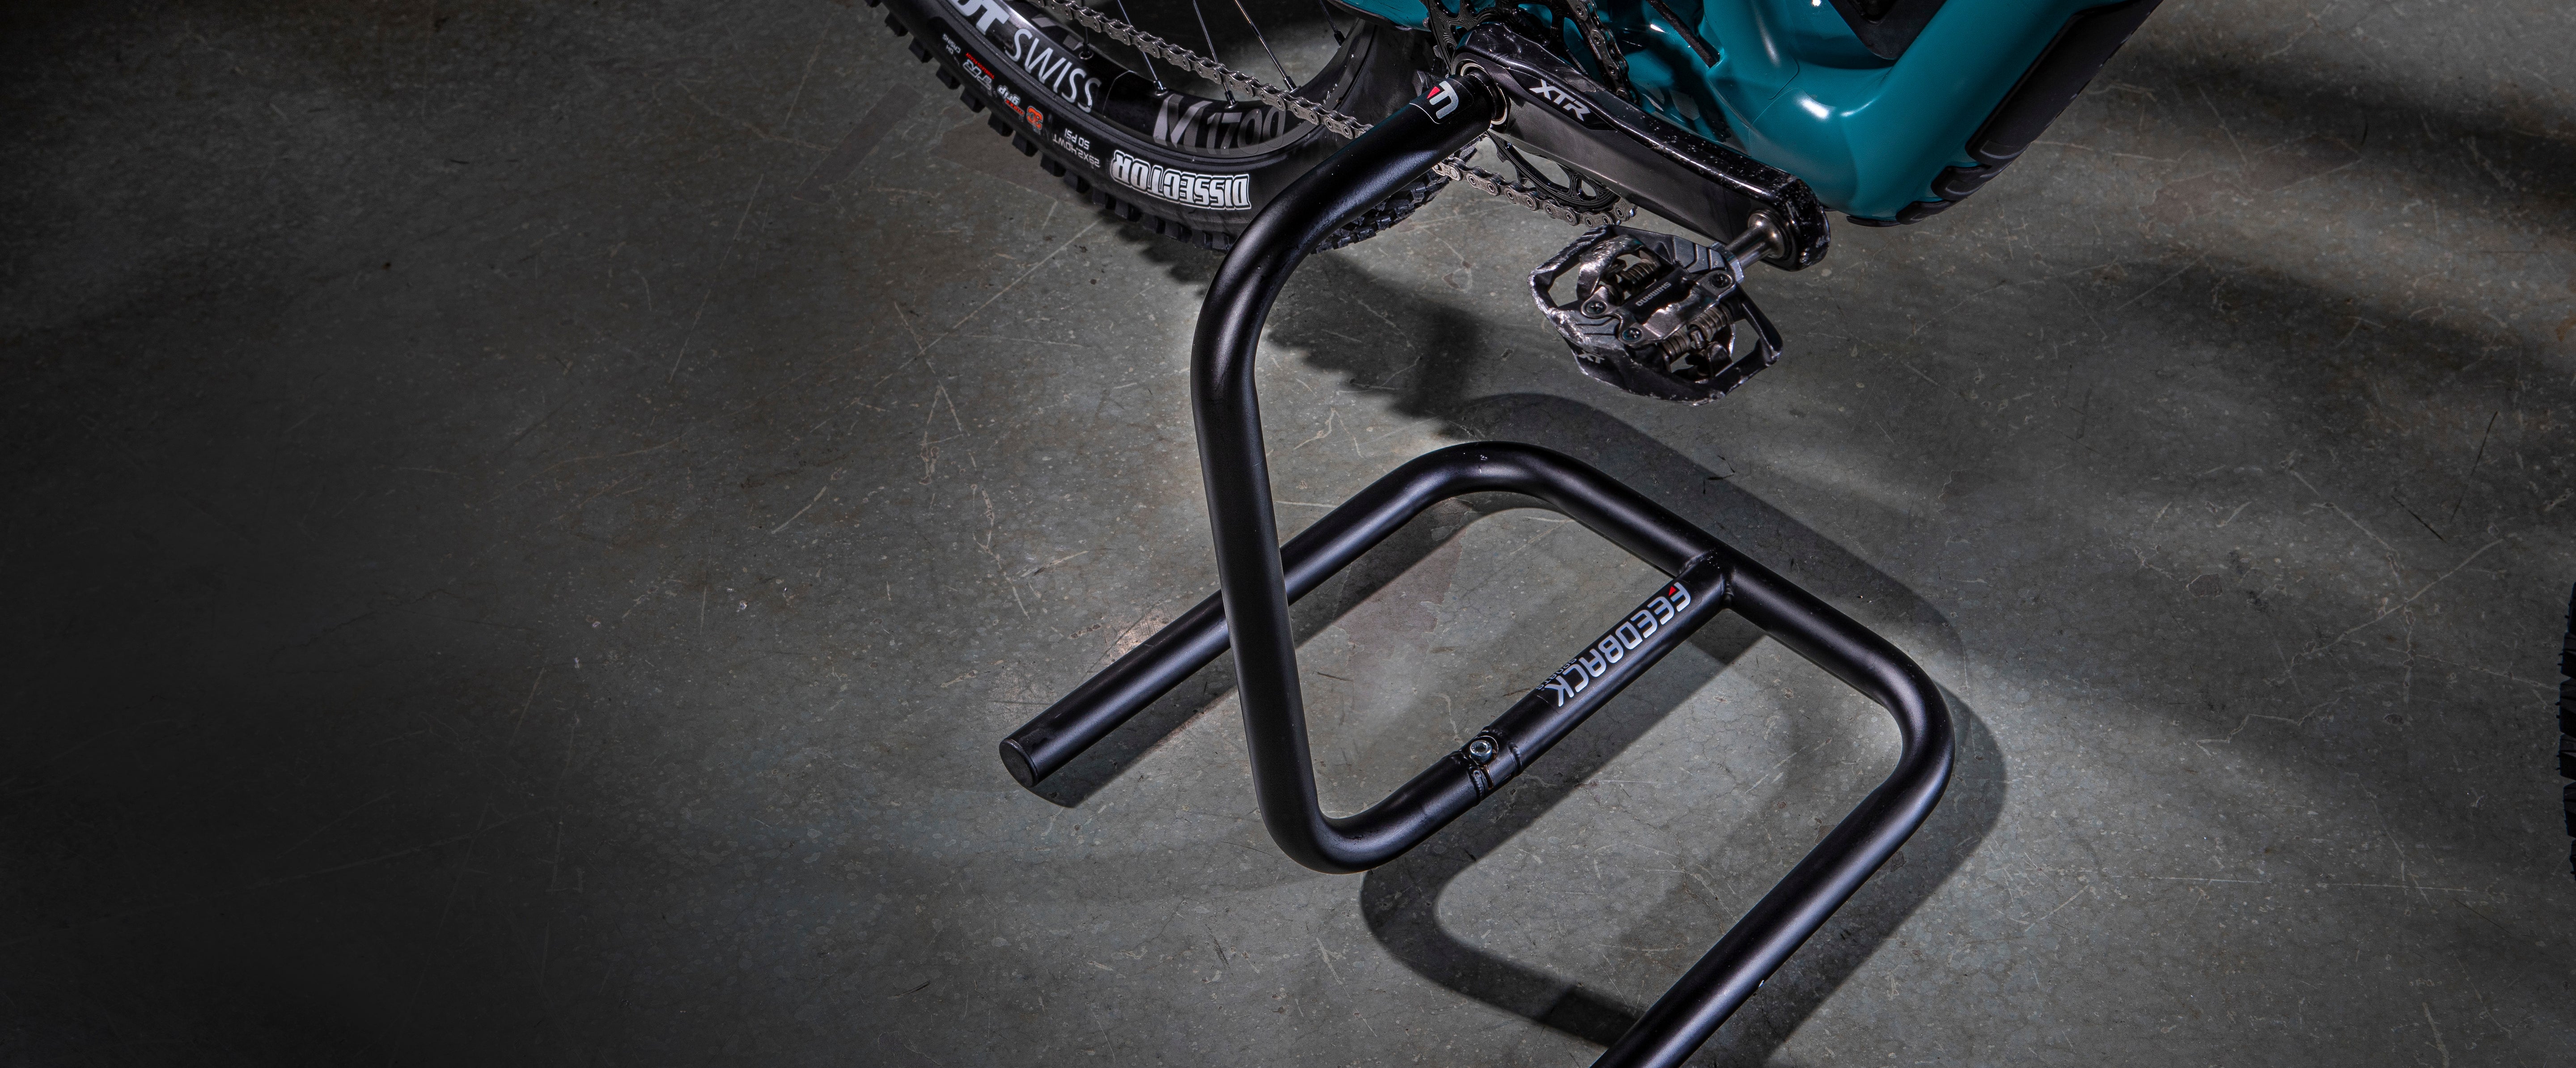
Moving down the fork check your brake bolts. If you have rim brakes, first squeeze the front brake lever, then check the caliper fixing bolt for tightness. While still holding the brake, to ensure no brake pad movement, check the bolts that hold the brake pad shoes on. If you have disc brakes check your caliper bolts and if you use 6 bolt rotors, check your rotor bolts as well. To finish off the front of the bike I like to check my skewer or thru axle.

Check seatpost (aka saddle) bolts, some use a single bolt up underneath the saddle or to the side of the seat post and some use opposing bolts to make micro angle adjustments easier. If you have the two bolt system be sure to tighten front and back bolts equally so that there is no change in your saddle angle. Moving on down the bike check your seat post clamp. Most have a torque value printed on them and it’s best to go by this value.
Next check the front derailleur clamp and cable, chainring bolts, and water bottle cage bolts (these may seem insignificant, but a loose bolt will drive you crazy).

Now it’s time for the cranks and pedals. There are many different types of fasteners used to affix crank arms to the spindle but the most common are a single 8mm bolt for Sram crankset and a combination of two alternating 5mm bolts coupled with a crank fixing cap for Shimano cranksets. The best way to gain leverage on a Sram crankset is to use the crank arm on the drive side to hold on to and reach over the top tube or through the frame with your allen key. For Shimano cranksets be sure to check both alternating bolts twice at least.
As with cranksets there are a various size pedal fasteners but the most common ones are a 6mm or 8mm Allen Wrench on the back side of the pedal spindle, and/or a 15mm Pedal Wrench Flat. Remember, the drive side pedal has a regular thread (righty tighty, lefty loosey) and the non-drive side pedal has a reverse thread (lefty tighty, righty loosey).

Pro-Tip: while pedaling your bike, the pedaling motion contributes to the pedal staying on the bike, so excessive torque is NOT necessary. You’ll be glad you only tightened it 4-5Nm when it comes time to take them off!
This is the point at which road bikes and mountain bikes will begin to differ drastically. If you’re doing a bolt check on a full suspension mountain bike there are quite a few more fasteners to consider. This is the time on a mountain bike to would check all of the pivot bolts . While the location and appearance of pivots differ from brand to brand, check each pivot and use a torque wrench when possible.

Moving further back, all of the shifting components function off of the rear wheel being in a fixed position – it’s a good idea to check the rear skewer or thru axle to make sure the rear wheel is securely fastened and in the dropouts correctly.
Now check the rear brake same as the front. Moving onto the rear derailleur and cassette, check the derailleur fixing bolt, cable bolt, and finally give the cassette a quick wiggle to make sure it’s fastened correctly.

The last things to check are any cycling accessories you have on your bike – bolts that hold seat packs, bike pumps, racks, and fenders, to name just a few. These can be safety concerns, but more than likely just annoying – an ounce of prevention is worth a pound of cure!
For your first attempt this can take a bit of time, but as you become familiar with the process and find a system that works for you, it will become a quick and simple. It’s a good idea to do a proper bolt check every other week at a minimum but once a week is ideal. One opportunity to do this is after washing your bike. For more pro tips check out our Mechanic’s Corner series.